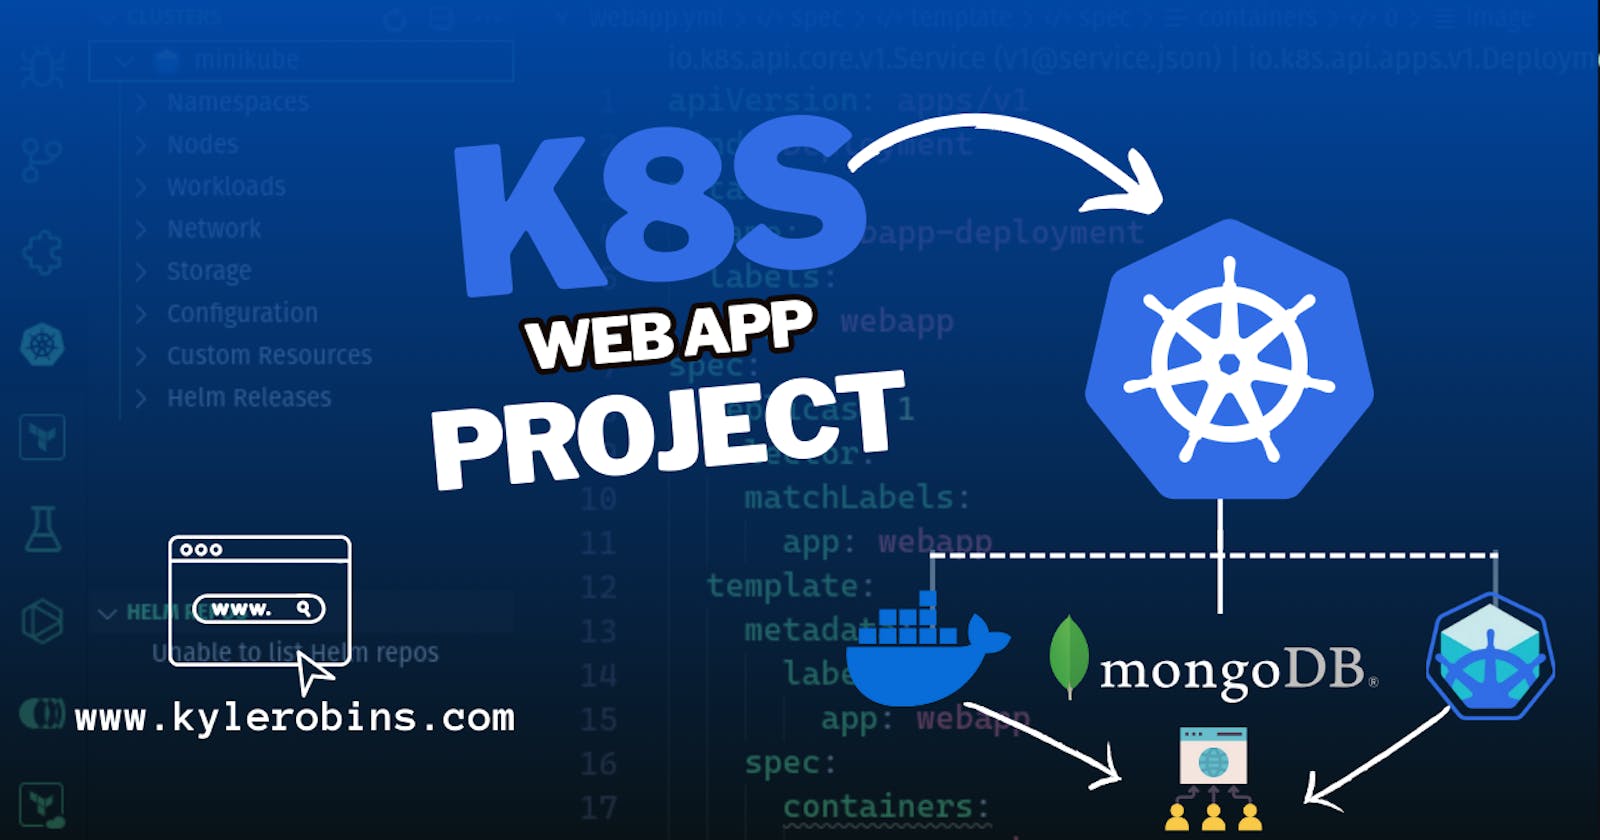
Deploying a Web Application with MongoDB on Kubernetes: A Step-by-Step Guide
Kubernetes has become the go-to solution for container orchestration, offering robust capabilities to automate the deployment, scaling, and management of containerized applications. In this blog post, we will walk through the process of deploying a simple web application with a MongoDB database on a Kubernetes cluster. We'll use YAML files for the deployment, which are a standard way of defining Kubernetes resources.
Understanding the YAML Files
We have four YAML files that will be used for this deployment:
mongo-config.yml- ConfigMapmongo-secret.yml- Secretmongo.yml- Deployment and Service for MongoDBwebapp.yml- Deployment and Service for the Web Application

mongo-config.yml: Setting Up the MongoDB ConfigMap
apiVersion: v1
kind: ConfigMap
metadata:
  name: mongo-config
data:
  mongo-url: mongo-service
The ConfigMap mongo-config stores configuration data that can be accessed by pods. Here, it defines the MongoDB URL, pointing to mongo-service, which will be the name of our MongoDB service.
mongo-secret.yml: Securing MongoDB Credentials
This file defines a Kubernetes Secret, mongo-secret, which is used to securely store sensitive data such as the MongoDB username and password. Note that these values are base64 encoded.

apiVersion: v1
kind: Secret
metadata:
  name: mongo-secret
type: Opaque
data:
  mongo-user: bW9uZ291c2Vy
  mongo-password: bW9uZ29wYXNzd29yZA==
mongo.yml: MongoDB Deployment and Service
This YAML file creates a MongoDB deployment (mongo-deployment) with a single replica. It uses an official MongoDB image and exposes port 27017. The MongoDB credentials are retrieved from the mongo-secret we defined earlier. Additionally, it defines a service (mongo-service) to expose MongoDB within the cluster.
apiVersion: apps/v1
kind: Deployment
metadata:
  name: mongo-deployment
  labels:
    app: mongo
spec:
  replicas: 1
  selector:
    matchLabels:
      app: mongo
  template:
    metadata:
      labels:
        app: mongo
    spec:
      containers:
        - name: mongodb
          image: mongo:5.0
          ports:
            - containerPort: 27017
          env:
            - name: MONGO_INITDB_ROOT_USERNAME
              valueFrom:
                secretKeyRef:
                  name: mongo-secret
                  key: mongo-user
            - name: MONGO_INITDB_ROOT_PASSWORD
              valueFrom:
                secretKeyRef:
                  name: mongo-secret
                  key: mongo-user
---
apiVersion: v1
kind: Service
metadata:
  name: mongo-service
spec:
  selector:
    app.kubernetes.io/name: mongo
  ports:
    - protocol: TCP
      port: 27017
      targetPort: 27017
webapp.yml: Web Application Deployment and Service
This YAML file is responsible for deploying our web application (webapp-deployment). It uses a demo application image and exposes it on port 3000. The environment variables for the web application are set using values from mongo-secret and mongo-config. The webapp-service is of type NodePort, making the web application accessible outside the cluster on port 30000.
Note we used the docker image image: nanajanashia/k8s-demo-app:v1.0 for reference you can use your own image.
apiVersion: apps/v1
kind: Deployment
metadata:
  name: webapp-deployment
  labels:
    app: webapp
spec:
  replicas: 1
  selector:
    matchLabels:
      app: webapp
  template:
    metadata:
      labels:
        app: webapp
    spec:
      containers:
        - name: webapp
          image: nanajanashia/k8s-demo-app:v1.0
          ports:
            - containerPort: 3000
          env:
            - name: USER_NAME
              valueFrom:
                secretKeyRef:
                  name: mongo-secret
                  key: mongo-user
            - name: USER_PWD
              valueFrom:
                secretKeyRef:
                  name: mongo-secret
                  key: mongo-password
            - name: DB_URL
              valueFrom:
                configMapKeyRef:
                  name: mongo-config
                  key: mongo-url
---
apiVersion: v1
kind: Service
metadata:
  name: webapp-service
spec:
  type: NodePort
  selector:
    app: webapp
  ports:
    - protocol: TCP
      port: 3000
      targetPort: 3000
      nodePort: 30000
Deploying on Minikube Guide
Deploying applications on Kubernetes can sometimes be challenging for beginners. However, using Minikube, a lightweight Kubernetes implementation, makes it easier to learn and develop Kubernetes projects locally. let's demonstrate how to deploy a simple web application connected to a MongoDB database on Minikube.
Before we dive into the deployment process, let's briefly revisit the YAML files required for this deployment:
mongo-config.yml- ConfigMap for MongoDB configuration.mongo-secret.yml- Secret for MongoDB credentials.mongo.yml- Deployment and Service for MongoDB.webapp.yml- Deployment and Service for the Web Application.
Ensure the files are in the same Dir as follows:

Prerequisites
Install Minikube: If you haven't already installed Minikube, follow the instructions on the official Minikube GitHub page.
Kubectl: Ensure you have kubectl installed, which is a command-line tool for Kubernetes. You can find installation instructions on the official Kubernetes website.
Starting Minikube
To start your Minikube cluster, open your terminal and run:
minikube start
This command will start a local Kubernetes cluster. Once the cluster is up and running, you can deploy your applications to it.

Deploying the Application on Minikube
Now, follow these steps to deploy your web application and MongoDB on Minikube:
Create the ConfigMap and Secret:
 kubectl apply -f mongo-config.yml
 kubectl apply -f mongo-secret.yml
These commands create the necessary ConfigMap and Secret for your MongoDB deployment.
Deploy MongoDB:
kubectl apply -f mongo.ymlThis command deploys MongoDB to your Minikube cluster.
Deploy the Web Application:
kubectl apply -f webapp.ymlThis step deploys your web application to the cluster.
Verify the Deployments:
To check if the pods are running, use:
kubectl get podsYou should see the MongoDB and web application pods in a running state.

Access the Web Application:
Since the web application is exposed via a NodePort service, you can access it using Minikube's IP and the specified node port (30000 in this case). To find the Minikube IP, run:
minikube ipThen, access the web application through
<Minikube_IP>:30000.
Cleaning Up
After you're done with the deployment, you can delete the deployed resources using:
kubectl delete -f webapp.yml
kubectl delete -f mongo.yml
kubectl delete -f mongo-secret.yml
kubectl delete -f mongo-config.yml
And to stop your Minikube cluster, simply run:
minikube stop
Conclusion
Deploying a web application with MongoDB on Minikube is an excellent way to get hands-on experience with Kubernetes in a local development environment. By following these steps, you can learn how to manage and orchestrate containerized applications effectively. With Minikube, Kubernetes becomes more accessible, allowing developers to test and develop applications with ease.

